

How To Install Pine Plank Walls
Every time I install a plank wall or ceiling, I get asked tons of questions. I've already covered installing plywood V-Groove plank walls. And a plywood plank ceiling! In this post I'll share everything I know about how to install a tongue and groove plank wall.
Choosing wood for a tongue and groove plank wall
First of all, What kind of wood do you use for a plank wall? Well, it's actually called "Wood Plank", "Planking", "1×6 or 1×8 or 1x whatever, pine, tongue and groove, V-groove/Beaded —- planks". Fo-reals! Not SHIPLAP.
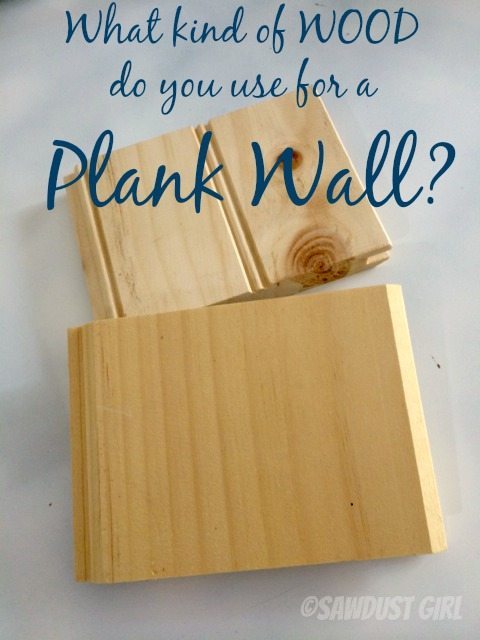
- It comes in various widths but it's 1x (meaning that it is actually 3/4″ thick). So if you use 1×6 (like I used on the wall in this picture, your planks are most likely 3/4″ thick by 5 1/2″ wide.
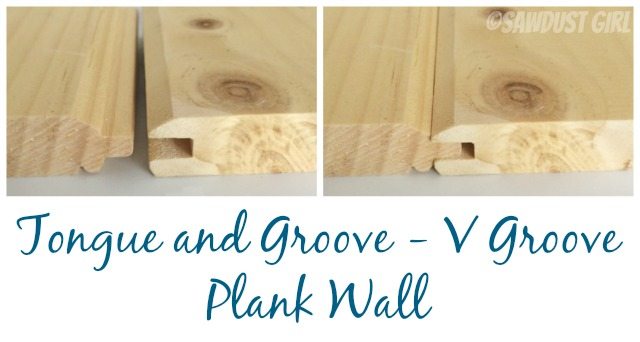
- It's Tongue and Groove. It has a tongue on one end and a groove on the other so it fits together making perfectly tight seams (like wood flooring).
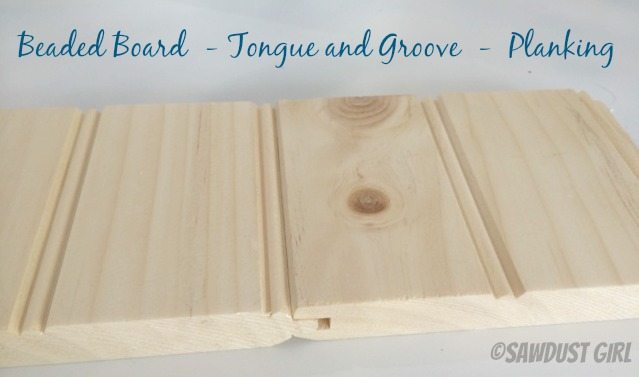
- It's V-groove or Beaded at the seams. It is flat on one side with chamfers (half of a V) of the ends where the tongue and groove parts fit together so when two pieces are seamed together it forms a V. OR the seam forms a bead if using the beaded side.
- It's Knotty Pine. I search through the piles of planks for the best ones. Try to find straight planks with as few knots and blemishes as possible (if you plan on painting).
V-Groove plank side
Beaded plank side
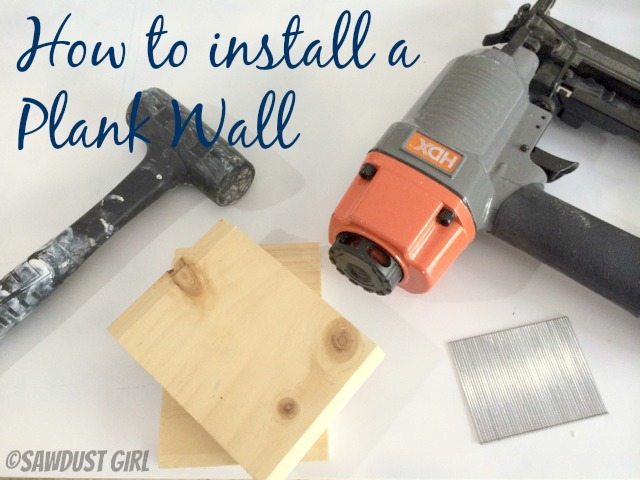
Tools and supplies
- Nail gun — I prefer a 16 ga for this job.
- 2 1/2″ nails (or so)
- Rubber mallet
- a small sacrificial piece of plank with the groove intact
- Level or chalk line to mark studs
How to install a tongue and groove plank wall
Now you are going to nail your planks on the wall. Here are some pointers…
Mark your studs
- Use a stud finder or knock or drill holes until you find the studs at the top and bottom of the portion of wall you are going to install your planks on. Snap a chalkline or use a straight edge and mark a line on all studs so you know where to put your nails.

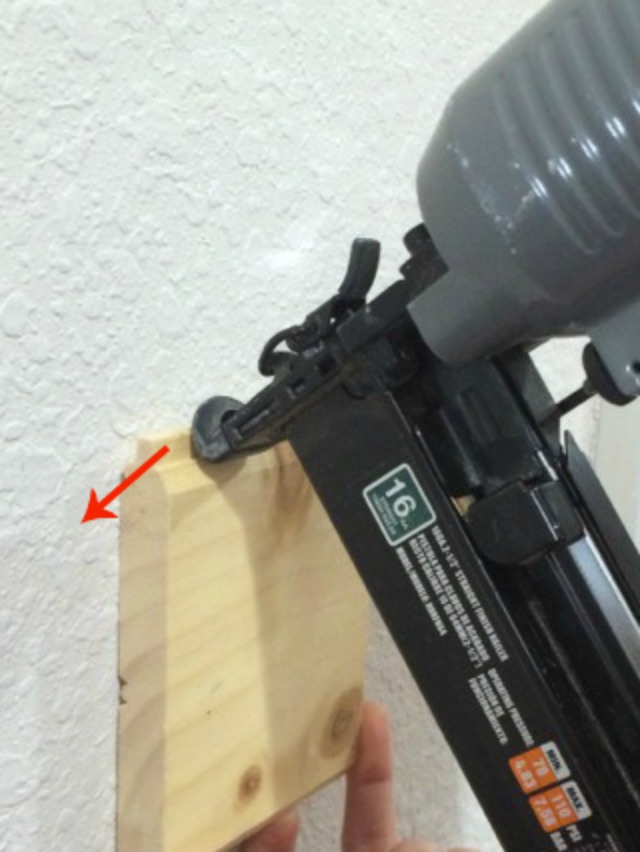
Avoid visible nail holes
- Install planks with the tongue up.
- Nail at an angle directly through the tongue and into your studs.
- You don't need to nail through the face of the planks anywhere but on the bottom row and near the ceiling.
- Start with the bottom row first and work your way up.
Leave an expansion gap
- Don't install your first row of planks directly on the floor. Wood expands and contracts and it needs space to do so. I lay one plank down flat on the floor. Then sit the first row of planks on top of that as I nail them to the wall. This creates "movement space". After my whole wall is installed, I pull that one out of the way and install my baseboard.
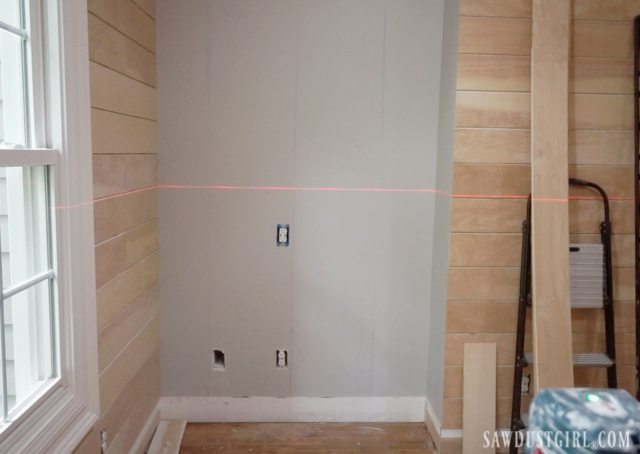
Level or parallel
- It's up to you if you want to install your planks "Level" or if you want them to be parallel with your floor (and hopefully ceiling). If your planks are level but your floor is not, once your baseboard is put on (which follows the floor) you may have a visible discrepancy that drives you crazy. It's a personal choice here.
- if you want them level, use a level or laser to keep the planks level as you nail them.
- After the first row, the bottom of each plank will be secured to the wall by the tongue and groove joint so you only need to nail the top of each plank after the first row.
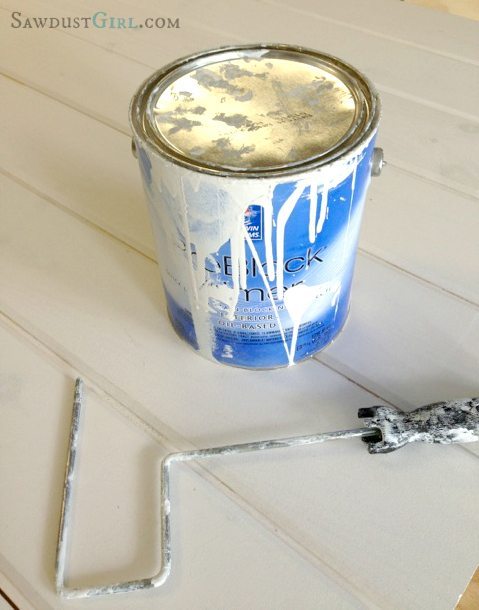
Paint
I like the look of the painted plank wall. A bare wood plank wall would create a rustic look and that's not what I have going on in my house.
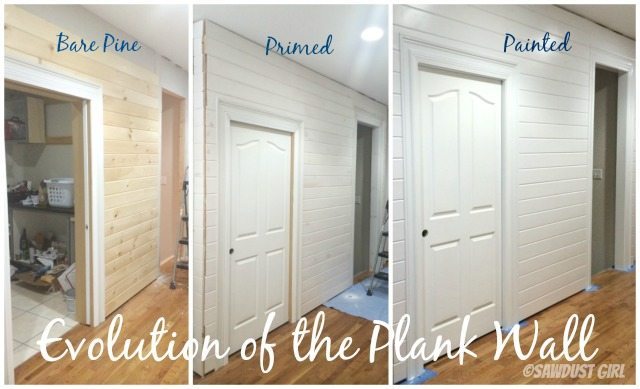
- Make sure you prime with with a good stain blocking primer or you'll end up with the sappy knots bleeding through after a couple years.
- I use a shellac primer currently.
It's actually a lot easier to prime before installing your planks on the wall. If you can find somewhere to lay the planks out flat, you can roll them. Shellac primer is pretty runny so you have to really protect your floors!
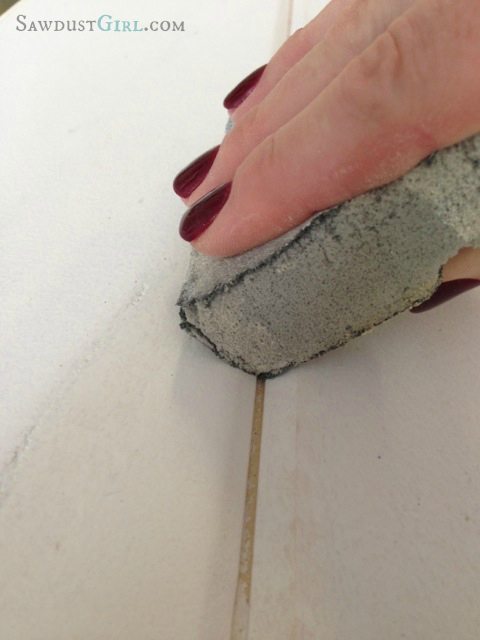
Sand
After priming, lightly sand down the planks. The V groove generally needs special attention as it can be quite rough. It doesn't take much elbow grease, just a light wipe with a fine grit sanding sponge.
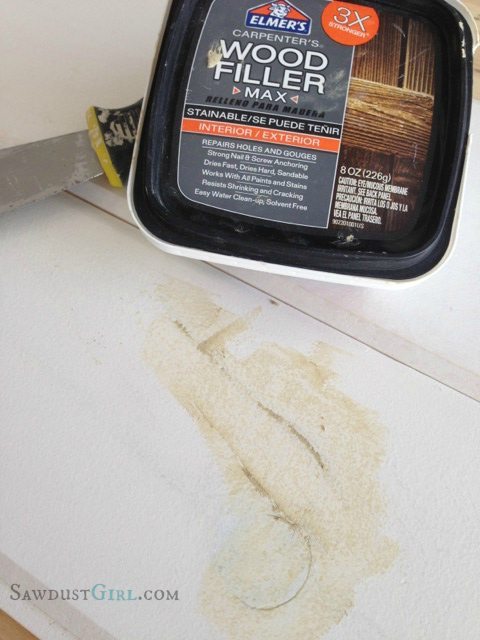
Fill
There are often cracks and knots that need to be filled. But I wait to fill and paint until the planks are up on the wall. Even if you nail through the tongue, there are always a couple spots where you have visible nail holes that need to be filled. You might as well do it all at once. Then touch up with some primer over those spots. And then go crazy with the paint.
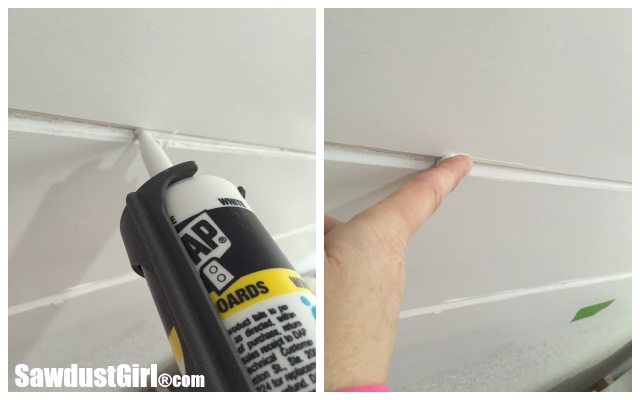
Caulking
It's not a good idea to caulk the groove in real wood plank walls. The wood will expand and contract throughout the year and you need to allow that to happen. When the wood contracts, you may see some bare wood (or primed wood). Go ahead and touch up those areas with some paint.
IF you installed a plywood V-Groove plank wall, caulk away! The plywood is stable and won't move around all year long. That's the main reason I started using plywood instead of Pine.
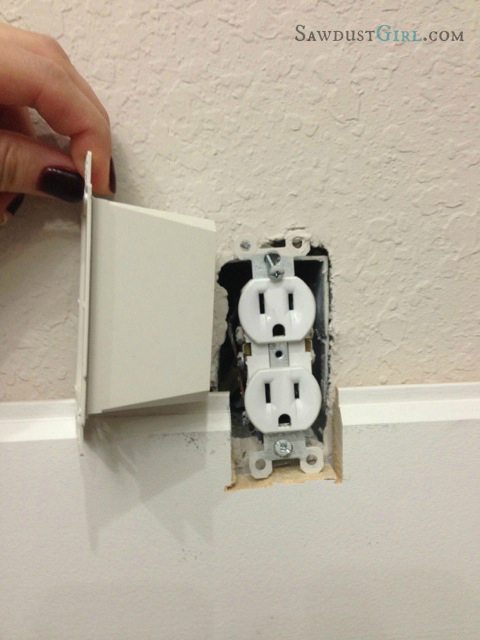
Outlets and light switches
When you run into a light switch or outlet, use an junction box extender. This will cover the receptacle so the bare wires are not close to your wood planks.
Dealing with exposed ends
What if you're installing a plank wall where the ends of the planks are going to be exposed? Like on a wall that bumps out? Like this?
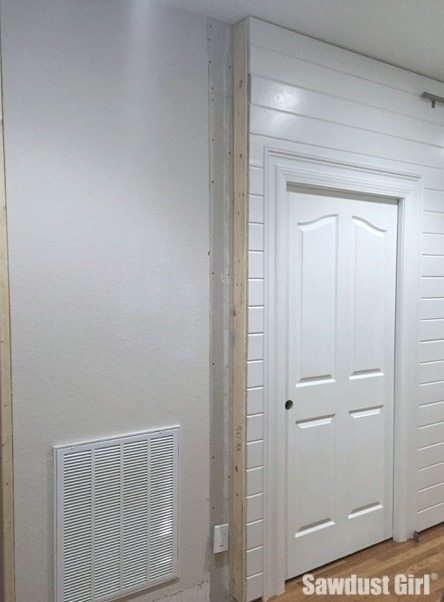
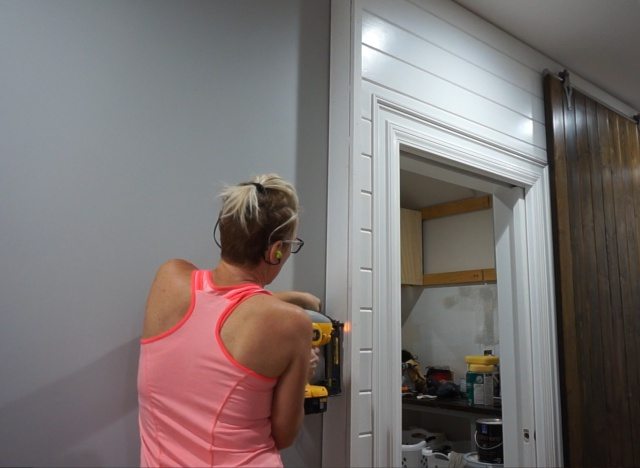
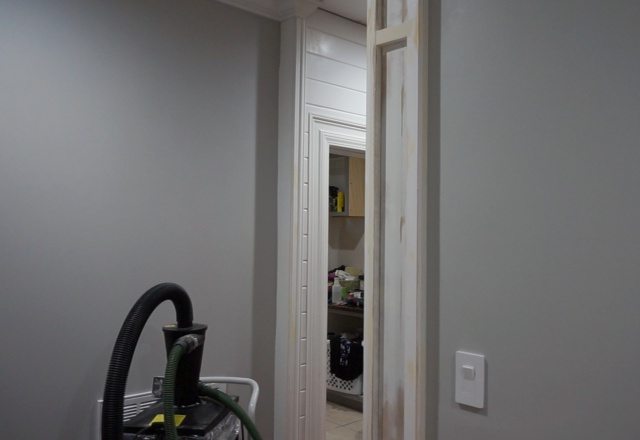
There are a number of ways you could cover those exposed ends. I like to create "features" out of problem areas. So I created a faux column on the end of my plank wall.
I've installed a lot of plank walls in this house! Long before a certain HGTV show went and made "shiplap" a thing. Plank walls used to be a classic. Hopefully once the fad is over being "so last year" and all the people that slapped up the nickel spaced faux planks have pulled them off or covered them up… we can go back to the old classic. One can always hope!
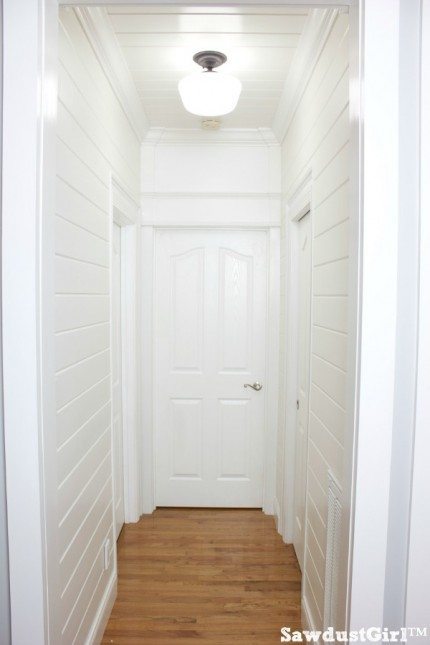
Living Room hallway
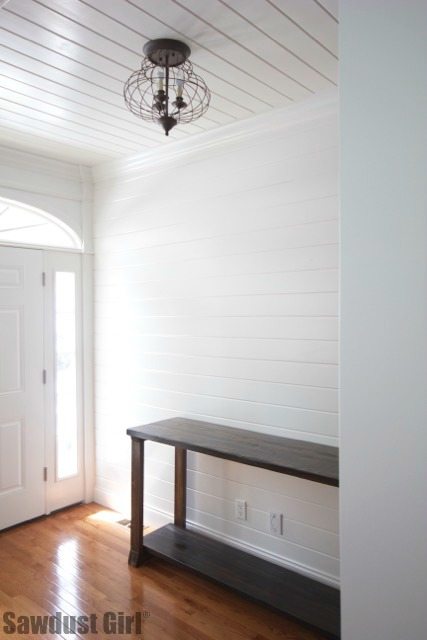
Entry
How To Install Pine Plank Walls
Source: https://sawdustgirl.com/how-to-install-a-plank-wall-tongue-and-groove/
Posted by: currieclinking.blogspot.com
0 Response to "How To Install Pine Plank Walls"
Post a Comment